When it comes to physical fitness and aesthetics, a well-developed chest is often considered a hallmark of strength and attractiveness.
Both men and women aspire to have a strong and attractive chest, as it not only enhances their overall physique but also boosts confidence and self-esteem.
Whether you’re an aspiring bodybuilder, a fitness enthusiast, or simply someone looking to improve their upper body strength, incorporating chest training exercises into your workout routine can yield impressive results.
Importance of a Strong and Attractive Chest
A strong chest not only contributes to a symmetrical and well-proportioned upper body but also plays a vital role in functional movements and daily activities.
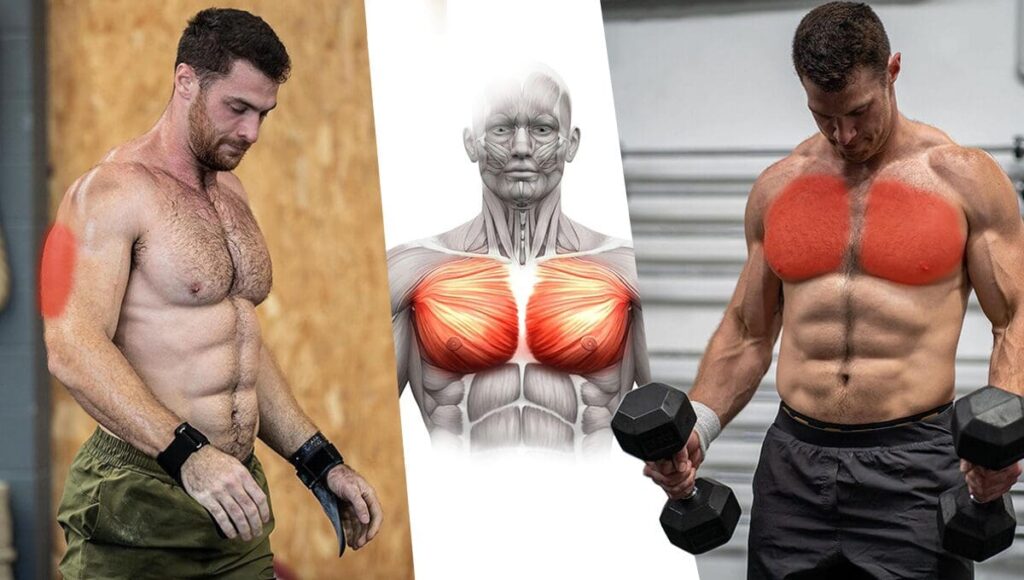
The chest muscles, primarily the pectoralis major and pectoralis minor, are crucial for actions like pushing, lifting, and stabilizing the arms and shoulders. Whether you’re lifting heavy objects, performing daily chores, or engaging in sports, a powerful chest enhances your performance and reduces the risk of injury.
Moreover, an attractive chest can significantly boost one’s physical appearance and confidence. It is often seen as a symbol of masculinity in men and a sign of a fit and healthy physique in women. By working on your chest muscles, you can sculpt a more appealing and aesthetically pleasing upper body, leading to increased self-assurance and admiration.
Benefits of Chest Training
Engaging in regular chest training offers a wide array of benefits beyond the physical appearance. Some of the key advantages of chest workouts include:
- Increased Upper Body Strength: Chest exercises target the chest muscles, as well as the shoulders and triceps, leading to improved upper body strength and power.
- Enhanced Posture: A strong chest helps maintain proper posture, preventing the shoulders from rounding forward and promoting a confident and open stance.
- Balanced Upper Body Development: Chest training, when combined with a well-rounded workout routine, ensures balanced muscle development throughout the upper body.
- Calorie Burning and Weight Management: Compound chest exercises can help burn calories and contribute to weight management efforts.
- Improved Athletic Performance: A powerful chest is essential for athletes, as it plays a vital role in various sports activities that involve pushing, throwing, or lifting.
In this article, we will introduce you to seven amazing exercises that are highly effective for building a muscular and attractive chest.
These exercises have been carefully selected to target different parts of the chest and engage supporting muscles for a well-rounded workout. Whether you prefer traditional gym equipment or bodyweight exercises that can be done anywhere, this list has something for everyone.
By incorporating these exercises into your routine and staying consistent, you can make significant progress towards achieving the chest of your dreams. So, let’s dive into each exercise in detail and discover how to perform them effectively for optimal results.
Bench Press
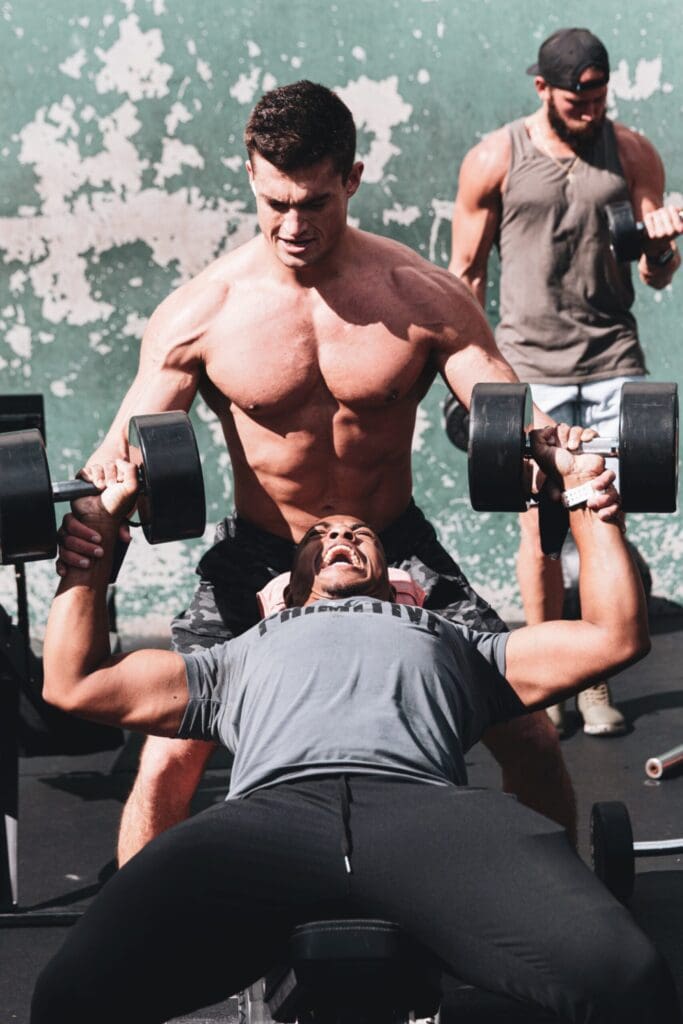
The bench press is a classic compound exercise that primarily targets the chest muscles, along with the triceps and shoulders.
It is usually performed lying on a flat bench, pushing a weighted barbell or dumbbells away from the chest.
To perform the bench press with proper technique and form:
- Set up: Lie flat on a bench with your feet firmly planted on the ground. Your eyes should be directly under the barbell. Grasp the barbell with a grip slightly wider than shoulder-width apart, or hold the dumbbells with your palms facing forward.
- Positioning: Lower your body down to the bench, keeping your shoulder blades squeezed together and your chest up. Your back should be arched slightly, and your feet should remain flat on the floor.
- Descent: Lower the barbell or dumbbells to the middle of your chest in a controlled manner. Your elbows should be at around a 90-degree angle.
- Pressing: Push the barbell or dumbbells back up to the starting position, extending your arms fully without locking your elbows.
- Breathing: Inhale as you lower the weight and exhale as you press it back up.
Variations (Barbell Bench Press, Dumbbell Bench Press, Incline Bench Press)
Barbell Bench Press: This is the standard bench press variation that utilizes a barbell. It allows you to lift heavier weights and is excellent for overall chest development.
Dumbbell Bench Press: With dumbbells, each arm works independently, which helps improve muscle imbalances and activates stabilizing muscles.
Incline Bench Press: In this variation, the bench is set at an incline (usually around 45 degrees). It emphasizes the upper chest muscles and the front deltoids.
Muscles Targeted
The bench press primarily targets the following muscles:
- Pectoralis Major (Upper, Middle, and Lower Chest)
- Anterior Deltoids (Front Shoulders)
- Triceps Brachii (Back of Arms)
Reps and Sets
The number of reps and sets you perform in a bench press workout will depend on your fitness goals. Here are some general guidelines:
- Strength and Muscle Mass: Aim for 4 to 6 sets of 4 to 8 reps with heavy weights.
- Hypertrophy (Muscle Growth): Aim for 3 to 4 sets of 8 to 12 reps with moderate weights.
- Endurance and Toning: Aim for 2 to 3 sets of 12 to 15 reps with lighter weights.
Remember to allow sufficient rest between sets to recover adequately. Additionally, it is essential to warm up before performing heavy bench press sets to prevent injuries.
Always start with lighter weights and gradually increase the load as you progress in your workout.
Push-Ups
Push-ups are a versatile bodyweight exercise that targets the chest, shoulders, triceps, and core muscles.
They can be performed anywhere without the need for any equipment. To ensure proper form and get the most out of your push-ups:
- Starting Position: Begin in a plank position with your hands placed slightly wider than shoulder-width apart. Your palms should be flat on the ground, fingers pointing forward, and arms fully extended.
- Alignment: Keep your body in a straight line from head to heels. Engage your core, glutes, and legs to maintain stability.
- Descent: Lower your body towards the ground by bending your elbows. Keep your elbows close to your body at about a 45-degree angle from your torso.
- Depth: Lower yourself until your chest is just above the ground, or as far as your strength allows, without touching the floor.
- Ascend: Push through your palms to straighten your arms and return to the starting position, maintaining the plank alignment throughout.
Different Variations (Wide Grip, Close Grip, Decline Push-Ups)
Wide Grip Push-Ups: Place your hands wider than shoulder-width apart. This variation emphasizes the outer pectoral muscles and shoulders more than regular push-ups.
Close Grip Push-Ups: Position your hands closer together, directly under your shoulders or slightly narrower. Close grip push-ups target the triceps more intensely.
Decline Push-Ups: Elevate your feet on a stable surface, such as a bench or step. This places more load on the upper chest and shoulders, offering an advanced challenge.
Muscles Targeted
Push-ups are a compound exercise that engages multiple muscle groups:
- Pectoralis Major (Chest Muscles)
- Anterior Deltoids (Front Shoulders)
- Triceps Brachii (Back of Arms)
- Rectus Abdominis (Abdominals)
- Serratus Anterior (Side Muscles of the Chest)
- Transverse Abdominis (Deep Core Stabilizer)
- Obliques (Side Abdominal Muscles)
Reps and Sets
The number of push-ups, reps, and sets you perform should align with your fitness level and goals. Here are some guidelines:
- Beginners: Start with 2 to 3 sets of 8 to 10 reps. If full push-ups are challenging, you can modify by doing knee push-ups while maintaining proper form.
- Intermediate: Aim for 3 to 4 sets of 12 to 15 reps of standard push-ups or variations.
- Advanced: Perform 4 to 5 sets of 20 or more reps, or try more challenging variations like decline push-ups.
Remember to rest between sets and focus on maintaining proper form throughout each repetition. If you find it challenging to perform many consecutive push-ups, it’s better to do fewer reps with correct form rather than sacrificing technique for higher numbers.
As you progress, gradually increase the number of reps and sets to continually challenge your muscles.
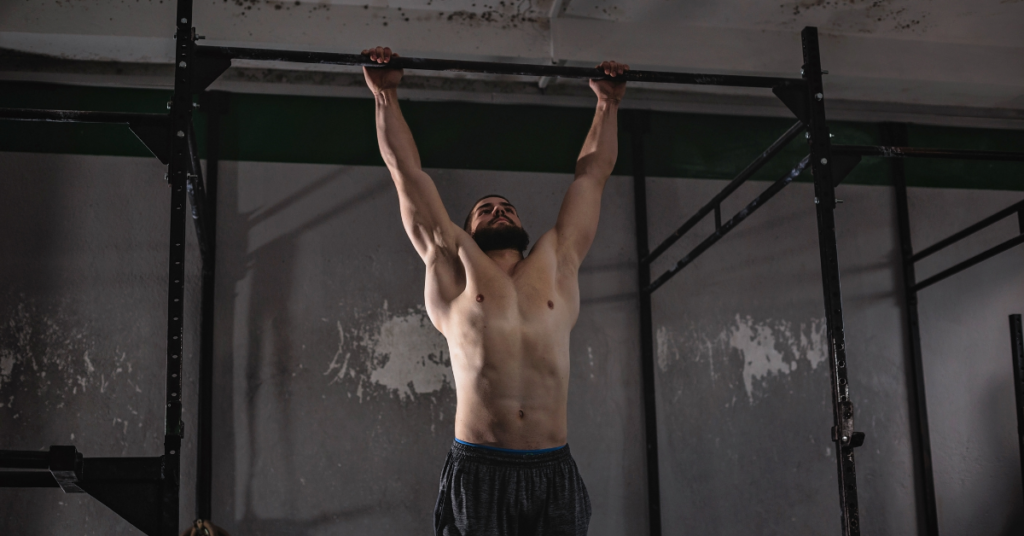
Chest Dips
Chest dips are an effective bodyweight exercise that primarily targets the chest, triceps, and shoulders. They are performed using parallel bars or dip stations. To ensure proper form and safety during chest dips:
- Starting Position: Grip the parallel bars with your palms facing downward. Your hands should be slightly wider than shoulder-width apart. Lift yourself up, supporting your body weight with fully extended arms.
- Body Position: Lean your torso slightly forward to put more emphasis on the chest muscles. Keep your chest up and shoulders back to maintain a strong posture.
- Descent: Lower your body by bending your elbows until your shoulders are at or below elbow level. Your elbows should form a 90-degree angle or slightly less.
- Ascent: Push through your palms to straighten your arms and return to the starting position.
Breathing: Inhale as you lower your body and exhale as you push yourself back up.
Muscle Engagement
Chest dips primarily target the following muscle groups:
- Pectoralis Major (Chest Muscles)
- Anterior Deltoids (Front Shoulders)
- Triceps Brachii (Back of Arms)
- Rhomboids and Lower Trapezius (Upper Back Muscles)
Equipment and Modifications
Dip Bars or Dip Station: To perform chest dips, you need access to parallel bars or a dip station. Many gyms have dip stations, but you can also purchase portable dip bars for home use.
Assisted Dips: If you are unable to perform bodyweight dips initially, you can use resistance bands or an assisted dip machine to help you gradually build strength.
Weighted Dips: Once you become proficient at bodyweight dips, you can add additional resistance by using a dip belt with weights or holding a dumbbell between your legs.
Reps and Sets
The number of reps and sets for chest dips depends on your fitness level and goals. Here are some recommendations:
Beginners: Start with 2 to 3 sets of 6 to 8 reps. Use assisted dips if necessary to maintain proper form.
Intermediate: Aim for 3 to 4 sets of 8 to 12 reps of bodyweight dips or with added resistance if appropriate.
Advanced: Perform 4 to 5 sets of 12 to 15 reps of weighted dips or try more challenging variations, such as weighted dips.
Rest for at least 1 to 2 minutes between sets to allow sufficient recovery. As with any exercise, focus on maintaining proper form throughout each repetition to maximize the effectiveness of chest dips and minimize the risk of injury. Gradually increase the intensity and resistance as you progress to continue challenging your muscles and achieving greater strength and muscle development.
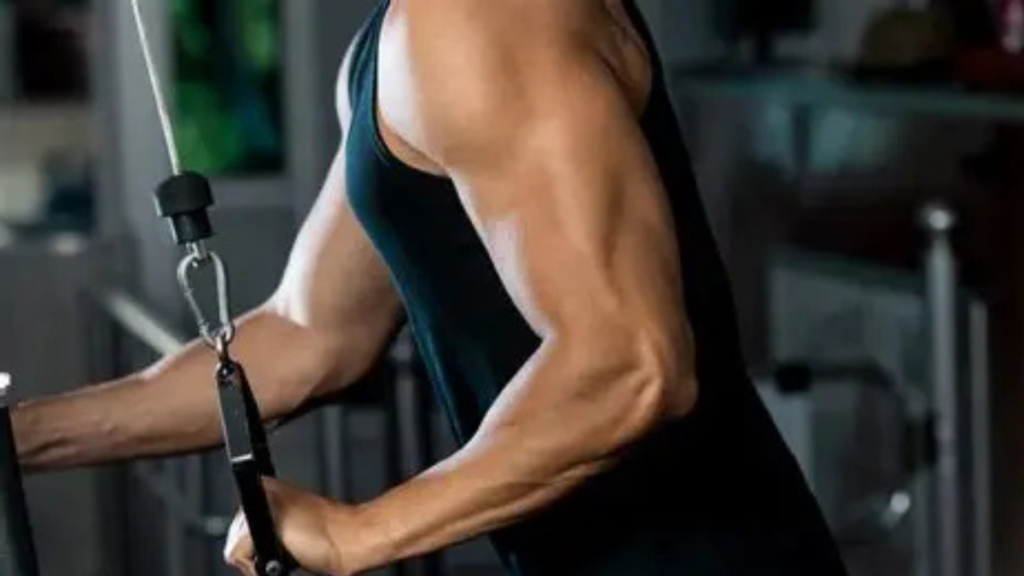
Cable Flyes
Cable flyes are a popular isolation exercise that provides an excellent way to target and develop the chest muscles. The exercise involves using a cable machine with adjustable pulleys and handles.
Here’s how to perform cable flyes with proper technique:
- Set Up: Stand in the center of the cable machine with your feet shoulder-width apart. Adjust the pulleys to chest height. Hold one handle in each hand, with your palms facing forward and your arms slightly bent.
- Body Position: Take a step forward with one foot to stabilize your stance. Maintain a slight bend in your knees and a straight back throughout the exercise.
- Movement: Start with your arms extended out to the sides, parallel to the floor. Keeping a slight bend in your elbows, bring your hands together in front of your chest in a hugging motion. Focus on squeezing your chest muscles as you perform the movement.
- Stretch: Slowly return your arms to the starting position, feeling a stretch in your chest muscles as your arms move outward.
- Breathing: Inhale as you open your arms, and exhale as you bring them together.
Advantages of Cable Machines
Cable machines offer several advantages for performing exercises like cable flyes:
Constant Tension: Unlike free weights, cable machines provide continuous tension on the muscles throughout the entire range of motion, which can enhance muscle engagement and growth.
Variety of Angles: Cable machines allow you to adjust the pulley heights and perform exercises from different angles, targeting specific muscle fibers for a more comprehensive workout.
Reduced Joint Strain: The smooth movement of cable exercises can be gentler on the joints, making them suitable for individuals with joint issues or those recovering from injuries.
Versatility: Cable machines offer a wide range of exercise options, enabling you to target various muscle groups and perform both pulling and pushing movements.
Muscles Targeted
Cable flyes primarily target the following muscle groups:
- Pectoralis Major (Chest Muscles)
- Anterior Deltoids (Front Shoulders)
- Biceps (Assisting in Arm Movement)
Reps and Sets
The number of reps and sets for cable flyes can be adjusted based on your fitness level and goals. Here are some general recommendations:
- Beginners: Start with 2 to 3 sets of 10 to 12 reps with a light to moderate weight.
- Intermediate: Aim for 3 to 4 sets of 8 to 10 reps with a slightly heavier weight.
- Advanced: Perform 4 to 5 sets of 6 to 8 reps with a challenging weight, or consider incorporating drop sets or supersets for added intensity.
Rest for about 60 to 90 seconds between sets to allow your muscles to recover. Focus on maintaining proper form and feeling the contraction in your chest muscles throughout the exercise.
As you progress, gradually increase the weight while maintaining controlled movements to continue stimulating muscle growth and strength development.
Chest Press Machine
The chest press machine is a popular strength-training equipment found in most gyms. It offers several benefits that make it an effective exercise for building chest strength and muscle development:
- Safety: The chest press machine provides a guided range of motion, reducing the risk of injury compared to free weights.
- Isolation: It isolates the chest muscles, minimizing the involvement of other muscle groups, which allows for targeted chest training.
- Adjustable Resistance: The machine typically has a weight stack, allowing you to adjust the resistance according to your fitness level and progression.
- Stability: The fixed movement pattern and stable seat provide better support, making it suitable for beginners and those with stability concerns.
- Muscle Engagement: The machine targets the chest muscles throughout the entire range of motion, helping in balanced muscle development.
Proper Use and Form
To use the chest press machine correctly and achieve optimal results:
- Adjust Seat and Handles: Position the seat so that the handles are at chest level. Your feet should be flat on the floor.
- Starting Position: Sit with your back flat against the backrest and grip the handles with your palms facing forward.
- Movement: Push the handles away from your chest by extending your arms fully. Avoid locking your elbows at the top.
- Descent: Slowly return to the starting position, allowing your elbows to bend at around 90 degrees.
- Breathing: Inhale as you lower the handles, and exhale as you push them away.
Muscles Targeted
The chest press machine primarily targets the following muscles:
- Pectoralis Major (Chest Muscles)
- Anterior Deltoids (Front Shoulders)
- Triceps Brachii (Back of Arms)
Reps and Sets
The number of reps and sets for the chest press machine can vary based on your fitness level and goals.
Here are some general guidelines:
Beginners: Start with 2 to 3 sets of 10 to 12 reps with a weight that allows you to complete the sets with proper form.
Intermediate: Aim for 3 to 4 sets of 8 to 10 reps with a slightly heavier weight, challenging yourself while maintaining control.
Advanced: Perform 4 to 5 sets of 6 to 8 reps with a weight that is challenging but still allows you to complete each set with good form.
Rest for about 60 to 90 seconds between sets to recover adequately. Gradually increase the weight as you progress in strength and always prioritize proper form over lifting heavier weights. Incorporate the chest press machine into your overall chest workout routine to add variety and stimulate muscle growth effectively.
Dumbbell Pullover
The dumbbell pullover is a versatile exercise that targets the chest, back, and shoulder muscles. It can be performed using a dumbbell while lying on a flat bench or a stability ball. Here’s how to perform the dumbbell pullover with proper technique:
- Starting Position: Sit on a flat bench or a stability ball with your feet firmly planted on the floor. Hold a dumbbell with both hands, palms facing upward. Lower your upper back to rest it on the bench or ball, creating a bridge with your hips.
- Grip and Positioning: Hold the dumbbell above your chest, keeping a slight bend in your elbows. Your arms should be perpendicular to the floor.
- Descent: Slowly lower the dumbbell backward and overhead in an arc motion. Keep your core engaged and maintain a slight bend in your elbows throughout the movement.
- Stretch: Lower the dumbbell until you feel a stretch in your chest and the dumbbell is in line with your torso.
- Ascent: Engage your chest muscles to bring the dumbbell back to the starting position, following the same arc motion.
Muscles Targeted
The dumbbell pullover primarily targets the following muscle groups:
- Pectoralis Major (Chest Muscles)
- Latissimus Dorsi (Back Muscles)
- Triceps Brachii (Back of Arms)
- Anterior Deltoids (Front Shoulders)
Reps and Sets
The recommended number of reps and sets for the dumbbell pullover depends on your fitness level and workout goals:
Beginners: Start with 2 to 3 sets of 8 to 10 reps using a light to moderate weight.
Intermediate: Aim for 3 to 4 sets of 10 to 12 reps with a slightly heavier weight.
Advanced: Perform 4 to 5 sets of 12 to 15 reps using a challenging weight.
Rest for about 60 to 90 seconds between sets to allow your muscles to recover. Focus on maintaining controlled movements and feeling the contraction in your chest and back muscles during the exercise.
As you progress, you can increase the weight or the number of reps to continue challenging your muscles and promoting strength and muscle development. Incorporate the dumbbell pullover into your chest and upper body workout routine for variety and comprehensive muscle engagement.
Plyometric Push-Ups
Plyometric push-ups, also known as “clap push-ups,” are a dynamic and advanced variation of the traditional push-up. They are designed to increase explosive upper body power. To perform plyometric push-ups with proper form:
Starting Position: Assume a standard push-up position with your hands placed slightly wider than shoulder-width apart. Your body should be in a straight line from head to heels, and your core should be engaged.
Descent: Lower your body towards the ground by bending your elbows, just like in a regular push-up.
Explosive Push-Off: Push through your palms with explosive force, propelling your upper body off the ground. As you push off, aim to lift your hands off the ground.
Clap: While in the air, quickly clap your hands together before extending them back to the starting position.
Landing: As you return to the ground, bend your elbows to cushion the landing, transitioning smoothly into the next repetition.
Plyometric Benefits
Plyometric push-ups offer several benefits that can enhance your overall upper body strength and power:
Explosive Power: The rapid and forceful push-off required in plyometric push-ups improves explosive power in the chest, shoulders, and triceps.
Muscle Recruitment: Plyometric exercises engage a higher number of muscle fibers, leading to increased muscle activation and recruitment.
Athletic Performance: Plyometric training can enhance performance in sports and activities that require explosive upper body movements.
Cardiovascular Challenge: Plyometric push-ups elevate heart rate, providing a cardiovascular challenge and contributing to improved stamina.
Safety Precautions
Plyometric push-ups are an advanced exercise, and they require a certain level of upper body strength and stability. Here are some safety precautions to consider:
Strength Requirement: Ensure that you can perform regular push-ups with proper form before attempting plyometric variations.
Proper Landing: Focus on landing softly with bent elbows to minimize impact on your wrists and shoulders.
Surface: Perform plyometric push-ups on a padded surface to reduce stress on your joints and wrists.
Progression: If you’re new to plyometric exercises, start with modified versions or try clapping your hands together gently without lifting off the ground.
Reps and Sets
Given the high intensity of plyometric push-ups, it’s essential to approach them with caution. Here are some general guidelines:
Beginners: Start with 2 to 3 sets of 3 to 5 repetitions, focusing on explosive power and proper form.
Intermediate: Aim for 3 to 4 sets of 6 to 8 repetitions, gradually increasing the intensity and speed.
Advanced: Perform 4 to 5 sets of 10 or more repetitions, challenging yourself with explosive movements.
Allow sufficient rest between sets to recover fully. Plyometric push-ups are best incorporated into your upper body or full-body workout routine, and they should not be performed every day to avoid overuse injuries. As with any advanced exercise, listen to your body and adjust the intensity according to your fitness level and capabilities.
Chest Training Tips and Best Practices
Warm-Up: Before starting your chest workout, it’s crucial to warm up your muscles to prevent injuries and improve performance. Perform some light cardiovascular exercises, such as jumping jacks or jogging, to increase blood flow to your muscles. Follow this with dynamic stretches that target your chest, shoulders, and arms.
Cool Down: After your chest workout, cool down with static stretches to promote muscle flexibility and reduce post-exercise soreness. Stretch your chest, shoulders, and arms for about 5-10 minutes, holding each stretch for at least 15-30 seconds.
Progressive Overload
Gradual Progression: To continue making gains in chest strength and muscle size, apply the principle of progressive overload. This means gradually increasing the weight, repetitions, or sets of your exercises over time. This progressive challenge stimulates muscle growth and prevents plateaus.
Tracking Progress: Keep a workout journal or use fitness apps to track your chest workouts, including the weights used and the number of reps and sets performed. This allows you to monitor your progress and make informed adjustments to your routine.
Rest and Recovery
Adequate Rest: Muscles need time to repair and grow stronger after a workout. Ensure you provide enough rest days between intense chest training sessions. Avoid working the chest muscles on consecutive days to prevent overtraining.
Sleep: Quality sleep is essential for muscle recovery and overall fitness. Aim for 7-9 hours of sleep each night to support optimal muscle repair and growth.
Importance of Nutrition
Protein Intake: Protein is essential for muscle repair and growth. Include a good source of protein in your diet, such as lean meats, poultry, fish, eggs, dairy products, legumes, and plant-based protein sources like tofu and tempeh.
Balanced Diet: Consume a well-rounded diet with plenty of fruits, vegetables, whole grains, and healthy fats to provide your body with the necessary nutrients for optimal performance and recovery.
Hydration: Stay hydrated throughout the day, as water is crucial for various bodily functions, including muscle function and recovery.
Pre and Post-Workout Nutrition: Fuel your body before workouts with a balanced meal that includes carbohydrates for energy and a source of protein. After workouts, consume a protein-rich snack or meal to aid muscle recovery.
Remember that everyone’s body responds differently to training, so it’s essential to find a chest workout routine that suits your fitness level, goals, and preferences. If you’re new to exercise or have any health concerns, consider consulting a fitness professional or healthcare provider to design a safe and effective chest training program tailored to your needs.
Conclusion
In this article, we explored seven amazing exercises that can help you build a muscular and attractive chest:
- Bench Press: A classic compound exercise that targets the chest, shoulders, and triceps.
- Push-Ups: A versatile bodyweight exercise that engages the chest, shoulders, and core muscles.
- Chest Dips: An effective bodyweight exercise that focuses on the chest, triceps, and shoulders.
- Cable Flyes: An isolation exercise using a cable machine that targets the chest and shoulders.
- Chest Press Machine: A guided exercise that isolates the chest muscles for controlled strength training.
- Dumbbell Pullover: A dynamic exercise that targets the chest and back muscles.
- Plyometric Push-Ups: An explosive variation of push-ups that enhances upper body power and strength.
Importance of Consistency and Patience
Building a muscular and attractive chest requires dedication, consistency, and patience. Progress may not happen overnight, but with consistent effort and commitment to your workout routine, you will see results over time.
Stay focused on your goals and trust in the process, knowing that each workout brings you closer to achieving the chest you desire.
Achieving Your Muscular and Attractive Chest
To achieve your goal of a muscular and attractive chest, keep in mind the following key points:
Proper Form: Always prioritize proper form during exercises to prevent injuries and ensure effective muscle engagement.
Progressive Overload: Continuously challenge your muscles by gradually increasing the intensity of your workouts. This can be achieved through added weight, more repetitions, or extra sets.
What Happens to Your Body if You Stop Eating Sugar for 2 Weeks?
10 Bad Morning Habits that Stop You Losing Fat
10 Biceps Exercises Better than Traditional Curls
Rest and Recovery: Allow your chest muscles time to recover and grow stronger by incorporating rest days into your training routine.
Balanced Nutrition: Fuel your body with a balanced diet that includes an adequate amount of protein to support muscle repair and growth.
Full-Body Approach: While chest training is essential, don’t neglect other muscle groups. A balanced full-body workout routine contributes to overall strength and symmetry.
Remember that everyone’s fitness journey is unique, so be patient with yourself and celebrate your progress along the way.
Set realistic goals and stay committed to your chest training program, and over time, you’ll be rewarded with a strong, muscular, and attractive chest that you can be proud of.