Standing yoga poses are an important part of a full yoga practice and are a great way to challenge your balance and flexibility.
Yoga is an ancient tradition focused on physical, mental and spiritual practices. While the spiritual and mental disciplines are deeply rooted in the complete practice of yoga, many athletes have taken up the exercise in varied ways for its physical benefits; to stay fit, keep moving and improve strength and mobility.
There are many styles of yoga, such as Ashtanga, Iyengar and Sivananda. At their core, all styles focus on the union between the body, mind, and spirit and, because of this, no one type of yoga is ideal for everyone.
Regular yoga practice has been shown to help increase-self-esteem and can enhance muscular strength and muscle flexibility, as well as promote and improve respiratory and cardiovascular function.
What are yoga standing poses?
Standing yoga poses are the foundation of the physical yoga practice. Also knowns as standing asanas, they encompass all movements where one or both feet are on the ground and the body is more or less upright.
What are standing yoga poses good for?
Standing yoga poses will challenge your balance and stability and have tremendous benefits for strengthening and stretching all muscle groups in your legs.
They require strong legs and core muscles and will develop your endurance and strength especially as you progress into longer flows.
Additionally, standing yoga poses are unique in increasing your flexibility, particularly in your ankles, hamstrings, hips and lower back.
For older adults in particular, regularly practicing foundational standing yoga poses can help improve balance and coordination by strengthening knees, ankles and hips.
8 Basic Standing Yoga Poses for Beginners
You don’t have to be fit to practice yoga as you can always find a flow suitable to your ability. Of course, some movements are more advanced than others, but these 8 basic standing yoga poses are thought with beginners in mind.
Cyndi Lee, founder of OM Yoga Center, highlights that the ultimate task in every yoga pose is to notice the holistic relationship among all the parts of the body.
1: Mountain Pose Tadasana
Mountain Pose, Tadasana, is one of the first poses you’ll learn when you get started with yoga and is the foundation for all standing poses and many inversions.
Mountain pose essentially boils down to standing, but your awareness should be on your physical and mental balance. This pose usually comes up on the first section of your practice to bring calm to the mind and awareness to your whole body.
Execution:
- Stand up straight with your feet solidly grounded to the floor, about hip-width apart.
- Roll your shoulders back and down with your arms by your sides and your palms facing forward.
- Keep your pelvis neutral and hips square.
- Try to stand upright with your body in perfect alignment.
You can challenge yourself by closing your eyes during this pose, learning to balance without any reference to the outer environment.
2: High Lunge Ashta Chandrasana
The high lunge is an excellent yoga pose to lengthen your hip flexors and stretch your spine, especially if you spend hours sitting.
Also known as Crescent High Lunge, this beginner-friendly standing yoga pose builds lower body strength, strengthening your thighs and ankle and knee joints.
Execution:
- There are many ways to get into this pose: you can either start in a forward fold (Uttanasana) or standing at the front of your mat in Mountain Pose.
- Exhale and step your right or left foot back towards the back end of your mat, placing only the balls of your foot on the mat. Step back far enough so that your forward leg can form a right angle and keep your feet in a straight line.
- Lengthen your spine and square the hips, ensuring both hip bones align on a perpendicular line against your legs.
- Sink the thigh of your forward leg towards the floor and soften your groin region. Keep your backward knee straight and push that leg upwards.
- Your upper body should face forward in alignment with your hips. Inhale and bring your arms to the sky, relaxing the neck and shoulders.
- Exhale and bring your feet back together towards the front of the mat. Repeat with the opposite foot.
You can advance this pose trying to lengthen your backwards step and sinking deeper into the lunge, relaxing the groin region while keeping strength on the legs, core and upper body.
3: Chair Pose Utkatasana
The chair pose works will tax your legs, core and arms and requires great ankle mobility to reach deeper levels.
Quad strength and a solid midline will keep you balanced during this pose, where you lower your centre of gravity.
Execution:
- Start in Tadasana. Taking a deep inhale, bring your arms to the sky in a circle so they are parallel above your head, palms facing inward.
- Bend your knees and begin to hinge your hips back and down as if you were about to sit on a chair. Try to take your thighs as nearly parallel to the floor as possible.
- Your knees may go over your feet and your torso should lean slightly forward to help with balance.
- Tuck your tailbone under to maintain a straight lower back and keep your heels well grounded to the floor.
- Stay in this pose for around seven breaths. To come out, straighten your knees with an inhalation and stand up leading with your arms. Exhale and lead your arms to your sides into Tadasana.
Perform this pose regularly to improve your ankle mobility. To deepen the strength requirements of Chair, squeeze a yoga block between your thighs.
4: Warrior I Pose Virabhadrasana I
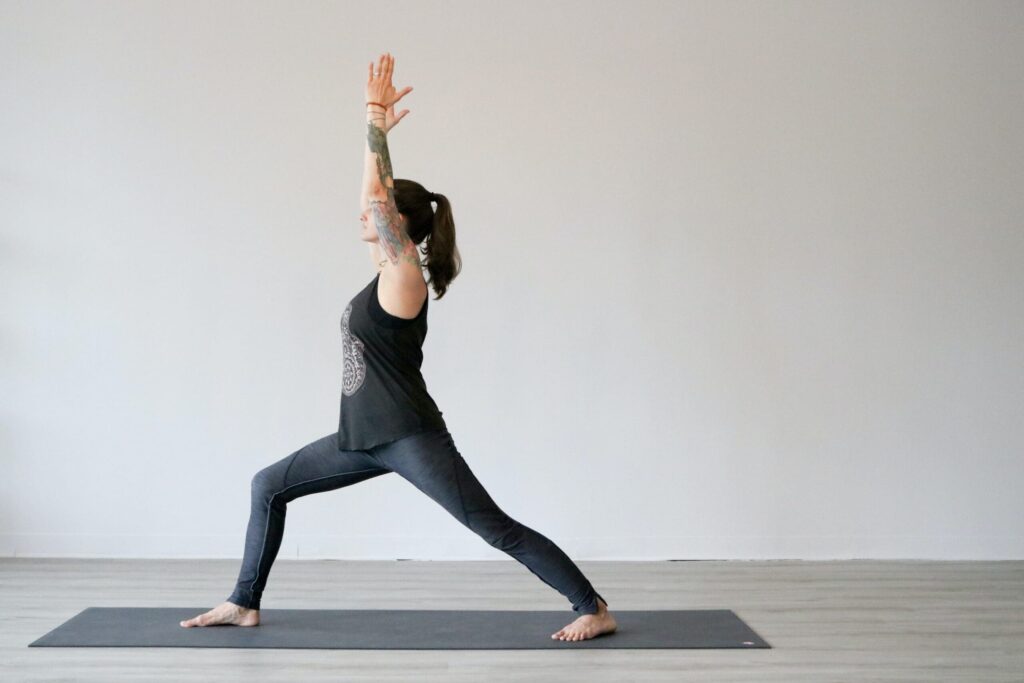
There are three variations of the Warrior. Warrior I stretches your ankles, calves and thighs, strengthens your quadriceps and back muscles and lengthens your shoulders, neck, chest and arms.
It is easy to flow into Warrior I pose from a High Lunge; they’re both very similar poses in that they both comprise a lunge in which the forward knee is above the ankle and bent 90 degrees, and the torso faces forward.
The key difference between both poses is that in Warrior I the back heel is grounded on the floor in a 45-degree angle. This stretches different parts of the back leg.
Execution:
- Stand in Tadasana and step your right or left foot back toward the back end of your mat. Your forward knee should be aligned with your ankle and form a right angle, so your shin is perpendicular to the floor and the foot points to the front of the mat.
- Straightening your back leg, ground your back foot on the floor and point your toes 45 degrees in the direction of the front of the mat. Both your heels should be aligned.
- Inhale and lift both arms above your head in a circle, reaching actively through your fingers towards the ceiling. Your arms should finish parallel to each other with your palms facing inward.
- Relax your head back and look towards your palms, which can be interlaced. All along keep a strong core and ensure your lower back is engaged.
- Square your hips and torso with the front of your mat, ensuring your back heel stays grounded.
- Continue to reach strongly through your arms and relax your pelvis, hips and thighs, sinking into the pose a little deeper.
- Maintain this pose for 30 seconds to a minute. To exit, inhale and find strength on your back leg, bracing the core. Straighten the front knee, face your feet forward and push with your back leg to brong your feet together at the front of the mat with an exhale.
- Repeat the pose with your other foot.
Beginner tip: if you struggle to keep your back heel grounded and your lower back lengthened, you can raise your back heel on a sandbag or other little prop to help out. Aim to remove this as you continue practicing.
This pose provides a strong sense of grounding. Warrior I is the start position for Warrior III and a standing pose preparation for back bends.
5: Warrior II Pose
Warrior II is one of the most visually popular yoga poses and there’s a good reason for it. The pose does not only look powerful but builds balance, increases lower-body strength and promotes core stability.
Execution:
- Start in Warrior I, with your legs wide apart, your front knee bent at a 90-degree angle and back leg extended, back heel grounded.
- Rotate your torso 90 degrees so its in line with your legs. Your hips, knees and ankles should all follow a straight line.
- Stretch out your hands towards your sides, actively reaching outwards as if someone was pulling you in both directions, creating space between the shoulders. Keep your torso straight. Your pals should face to the floor.
- Make sure your front tight is aligned with the body as it tends to cave inward, if this is the case, push your front knee outward.
- Keep your shoulders over your pelvis and tuck your tailbone if you feel your hips moving out. Turn your head towards your front hand and look over your fingers.
- Maintain this pose for 30 seconds to a minute. To come up inhale , find strength in your back leg and step forward so your feet are parallel to each other. Reverse the feet and repeat with the other side.
Warrior II strengthens and stretches your legs and ankles as well as your groin, chest and shoulders.
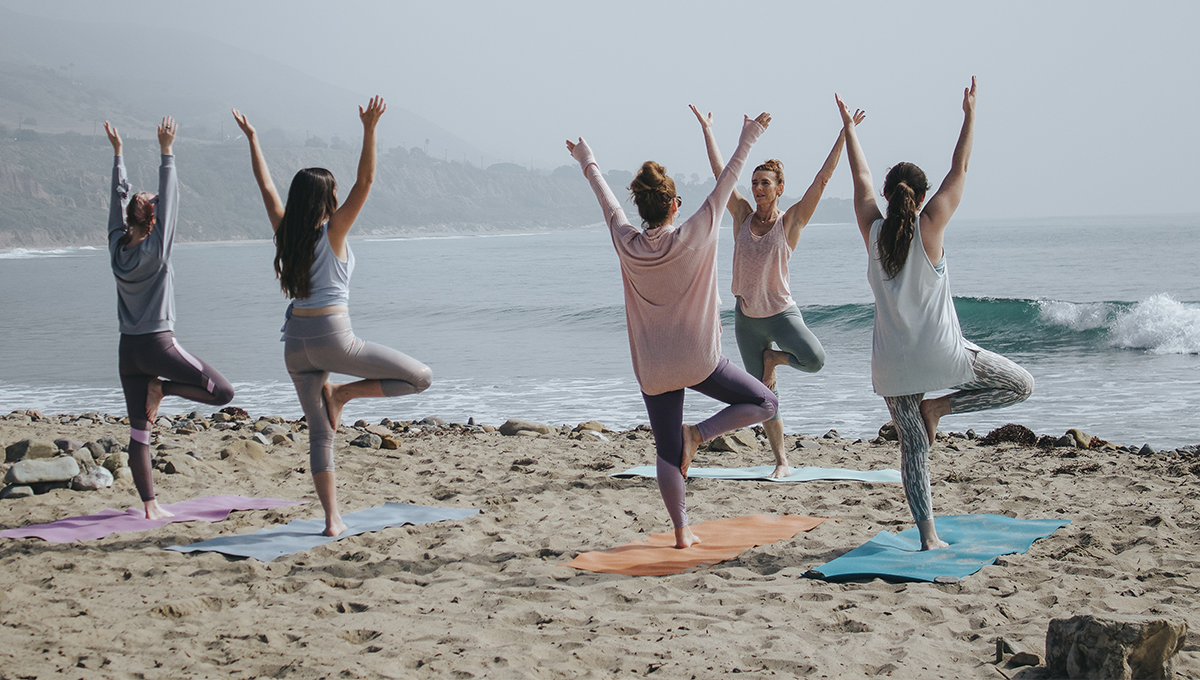
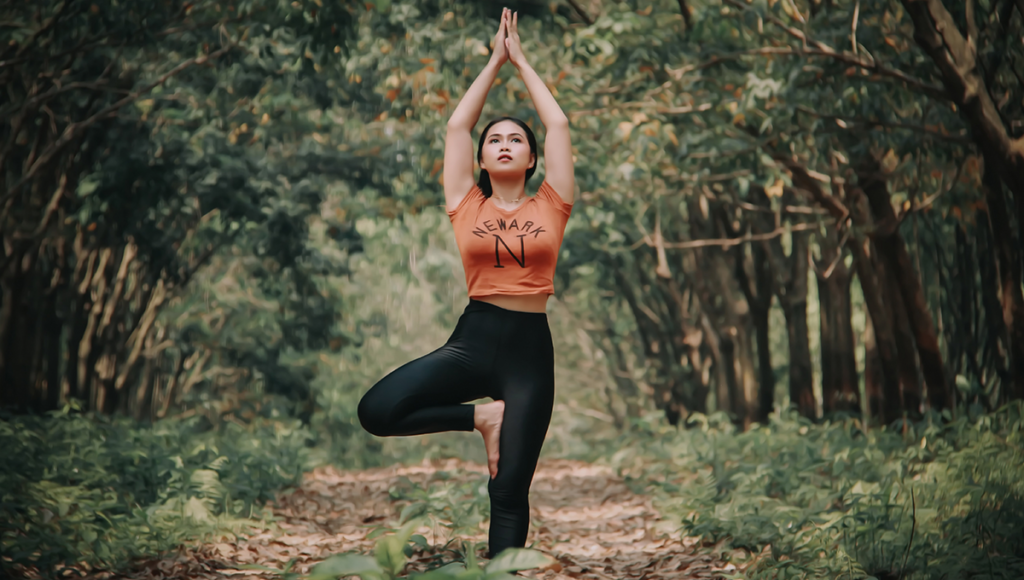
6: Tree Pose Vrksasana
This is a standing balance pose requires you to support your weight on one foot, with your other foot resting against your supporting leg.
Practicing the tree pose regularly will improve your single-leg strength, as well as build hip and oblique strength. This pose helps find balance in the legs, improve body awareness and establish strength.
- Start with mountain pose and, once you’re grounded, bend and lift one leg in front of you, your hands should rest on your hips.
- Place your foot on the top inner thigh of the leg that is now supporting you, carefully drawing your knee back and opening your hip.
- Lengthen your spine and anchor your supporting leg.
- Once you have found balance, extend your arms to the sky, touch your palms and gaze to your thumbs.
- To exit the pose inhale and release the arms, then exhale and return your foot to the ground in a controlled manner.
Try to avoid resting your foot on your inner knee if you suffer from knee pain; use your inner calf or inner thigh instead. If you’re likely to fall you can aid yourself with a wall or chair.
7: Eagle Pose Garudasana
Eagle pose demands strength, flexibility and incredible balance. Similar to Tree pose, this pose will see you balancing on one leg, but you’ll also need great hip flexibility and stability to wrap your legs around each other.
Execution:
- Start in Tadasana and, inhaling, slowly shift your weight to one foot.
- Cross one leg over the one supporting your weight and, if possible, tuck your foot behind your calf, bending both knees slightly. Balance.
- Stretch your arms towards the sky and bring them in front of your face, palms facing inward, with your elbows bent at a 90-degree angle.
- Cross the same arm as the leg is crossed over the other and raise the forearms perpendicular to the floor. Intertwine your arms so your palms face each other and the twist in your arms mirrors that of your legs.
- Lift your elbows and stretch your fingers towards the ceiling. Maintain this pose for 15 to 30 seconds, then untangle yourself in a controlled manner and return to Tadasana.
Beginner tip: use a wall to support your back during this pose if you struggle with balance.
Challenge yourself by looking up at the tips of your thumbs once you’re in the full pose.
Eagle pose is a great balance standing pose to challenge your leg strength and open your back and shoulders.
8: Extended Side Angle Pose Utthita Parsvakonasana
Find length in your body and challenge your weight distribution with the Extended Side Angle pose.
This yoga pose strengthens the legs, knees, and ankles, as well as stretches your spine, waist, chest, back and shoulders. It is also a great pose to increase stamina when held for longer periods of time.
Execution:
- This pose can start from Tadasana or follow from Warrior II, with you in a lunge position and your arms extended.
- Extend your arms towards the sky and then bend your front elbow, stretching your torso towards the front and moving your back arm forwards to rest, still extended, on the back of your ear. Your palm should face the floor.
- Stretch from your back heel to the top of your fingertips. Your body should form a neat line, lengthening the entire side of your body.
- Bring your bent forward arm to rest on top of your front thigh, keeping a nice rotation on your torso and pushing your back hip backward.
- Turn your head to face the arm resting against the back of your ear and create length, trying to relax into the pose.
- Bring the front side of your torso toward your front thigh and actively push your front knee against your inner arm.
- Hold this pose for 30 seconds to a minute and inhale before coming back up. Reverse the feet and achieve the same length with the other side.
Challenge yourself by trying this pose with your lower arm in front of the bent knee. This will create a deeper stretch in your front groin and lengthen your side ribs.
Check out more yoga content from BOXROX:
The 10 Best Yoga Poses for Two People
7 Challenging Yoga Poses for Weight Loss
Yoga Poses to Improve Your Movement, Body, Breathing and Wellbeing
Standing Yoga Poses FAQs
What are standing yoga poses?
Yoga standing poses are part of a full yoga practice and include poses where you balance on one or both feet, which are said to improve balance and flexibility.
They are also known as Standing Asanas.
What beginner standing yoga poses are there?
Mountain Pose (Tadasana)
High Lunge (Ashta Chandrasana)
Chair Pose (Utkatasana)
Warrior I Pose (Virabhadrasana I)
Warrior II Pose (Virabhadrasana II)
Tree Pose (Vrksasana)
Eagle Pose (Garudasana)
Extended Side Angle Pose (Utthita Parsvakonasana)
Of course there are many other foundational standing yoga poses, but these eight are a good start.
Why should I do standing yoga poses?
Standing yoga poses can improve your balance and flexibility, especially when performed regularly. When added into a yoga flow, they can also help increase conditioning and stamina.
Standing yoga poses are especially beneficial for seniors with risks of falling, as they can help improve balance and coordination, and strengthen hips, knees and ankles.
Do I need to be fit or flexible to do standing yoga poses?
No, standing yoga poses don’t require a base fitness level or extreme flexibility. All poses can be modified to meet you where you are. Yoga is ultimately about internal and external balance, so nothing should be forced.
If you struggle with any poses we recommend you practice them with a certified coach.